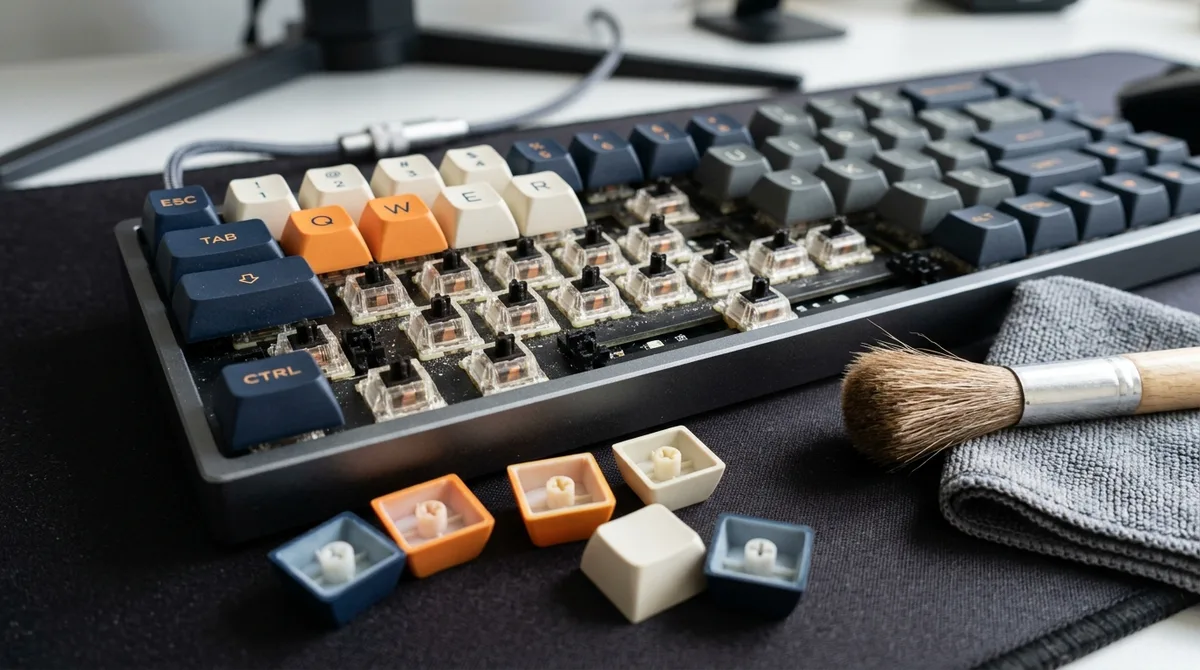
Keyboards collect crumbs, dust, and skin oils fast, but you rarely need a full teardown. Think in three levels and match the effort to the mess.
Before You Start: Know Your Keycaps
The one thing that damages keyboards during cleaning is using the wrong chemical on the wrong plastic. Two materials are common:
| Attribute | ABS Keycaps | PBT Keycaps |
|---|---|---|
| Chemical resistance | Low — sensitive to solvents/alcohol | High — alcohol-safe |
| Heat tolerance | Warps around 140°F | Heat-resistant |
| Safe cleaner | Lukewarm soapy water | Warm water or 70% isopropyl alcohol |
When in doubt, use mild soapy water rather than strong alcohol.
Level 1: Weekly Tidy (2–5 minutes)
- Power down — unplug it or switch off wireless; shut a laptop down fully to avoid stray key presses and shorts.
- Invert and tap. Hold the keyboard upside down over a bin and tap the back to drop out crumbs and hair.
- Compressed air. Blow in short bursts in a zigzag from one side to the other, holding the nozzle at a slight angle so dust is pushed out, not deeper into the switches.
Level 2: Monthly Disinfect
- Use 70% isopropyl alcohol — higher concentrations evaporate too fast to actually disinfect and can be harsh on coatings.
- Dampen, never dip. Moisten a microfiber cloth until it is barely damp and wipe the tops and sides of the keys.
- Detail the gaps with a cotton swab lightly moistened with alcohol, targeting the sticky grime between keys.
Level 3: Deep Clean (every 6–12 months)
For mechanical keyboards especially, a periodic deep clean keeps them feeling and looking new:
- Photograph the layout first — your reference for putting keys back.
- Pull the keycaps with a wire-style puller (plastic ring pullers scratch the caps). Pull straight up with even pressure.
- Wash the caps in a bowl of warm, mildly soapy water, then rinse and let them dry completely — hours, not minutes.
- Clean the exposed plate with compressed air and a swab while the caps dry.
- Reassemble using your photo, pressing each cap straight down until it clicks.
Laptop and Membrane Keyboards
Do not pull keycaps off a laptop or a membrane keyboard — the clips and scissor mechanisms are fragile and easy to break. Stick to Levels 1 and 2 for those: invert, compressed air, and a barely-damp wipe.
If You Spill Liquid
Unplug or shut down immediately, flip the keyboard over to drain, and let it dry for at least 48 hours before powering back on. Sugary or sticky spills on a mechanical board usually mean a keycap-off cleaning to remove residue around the switches.
How Often to Clean
| Level | Frequency | Time |
|---|---|---|
| Weekly tidy (invert, compressed air) | Weekly | 2–5 minutes |
| Disinfect (70% alcohol wipe) | Monthly | 10 minutes |
| Deep clean (keycap removal) | Every 6–12 months | 1–2 hours |
What Not to Do
- Don't dip the keyboard in liquid — dampen a cloth instead.
- Don't use high-concentration alcohol (91%+) — it evaporates too fast to disinfect and can be harsh on some keycap coatings.
- Don't pull keycaps off a laptop or membrane keyboard — the clips are fragile and easily broken.
Frequently Asked Questions
What is the best way to clean a keyboard?
For routine cleaning, unplug it, turn it upside down and tap out debris, then use compressed air in short bursts. Monthly, wipe keys with a barely-damp 70% isopropyl alcohol cloth. Every 6–12 months, remove keycaps (mechanical only) and wash them.
Can I use water to clean my keyboard?
Only a barely-damp cloth — never dip or pour. For washable mechanical keycaps, warm mild soapy water works, but they must dry completely before reinstalling.
How do I clean a laptop keyboard safely?
Do not remove the keys. Stick to compressed air, a barely-damp microfiber wipe, and a cotton swab for the gaps.